
|
El Ohmbre™ Electric Vehicle Project Pictures |
|
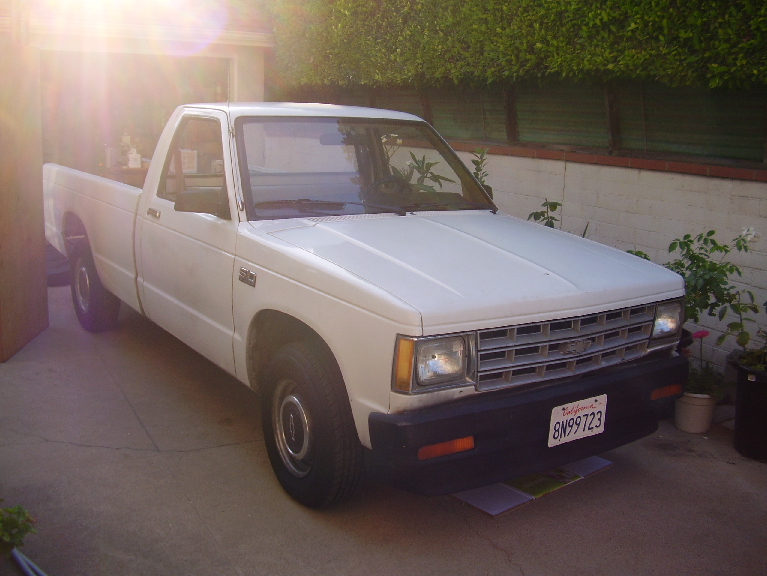
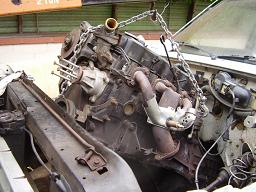
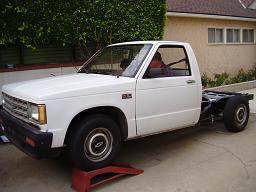
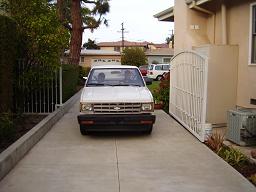
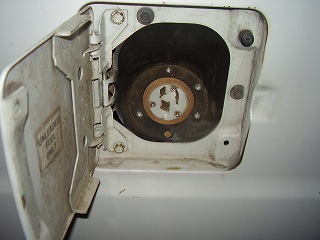
Here are a few "before" projects taken before starting the gasoline to electric conversion. 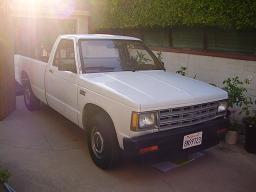
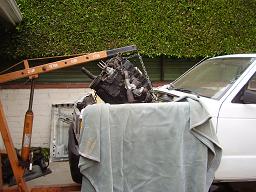
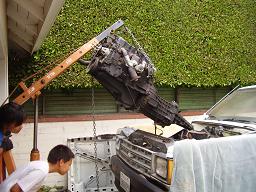
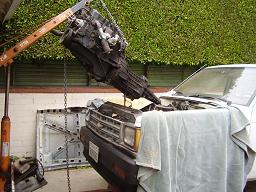
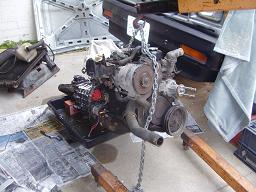
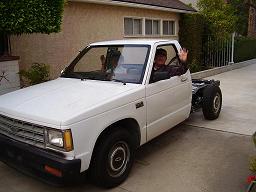
Here is my "crew" for the engine removal part of the project. 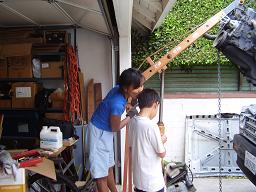
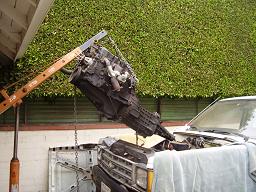
Here is first step of the gasoline to electric conversion project, removing the gasoline engine. 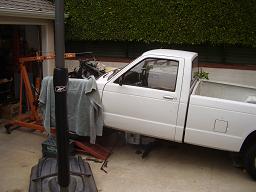
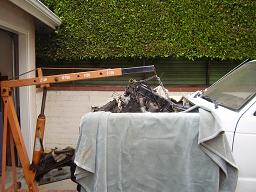
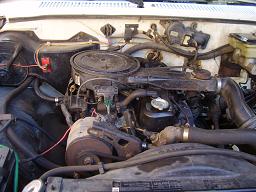
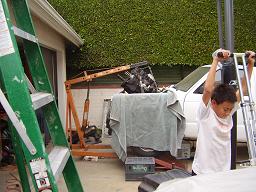
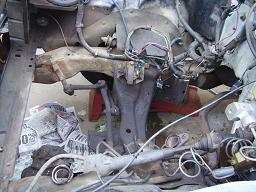
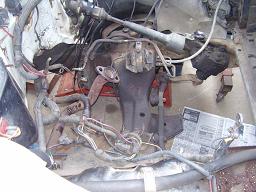
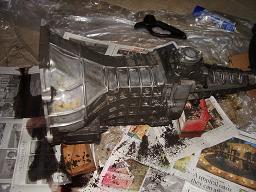
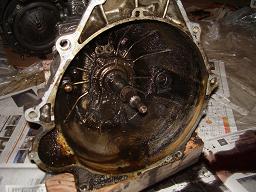
Here is the empty engine compartment with all its grease and the begining of the most tedious part of the gasoline to electric conversion, the cleaning up of all parts to be reused. 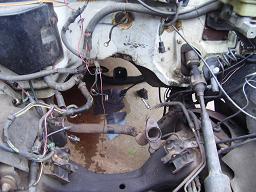
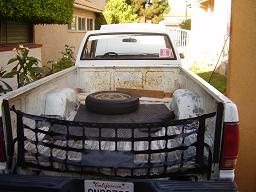
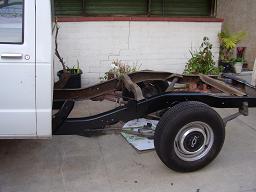
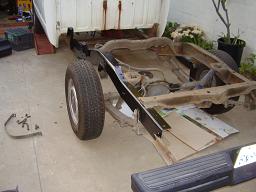
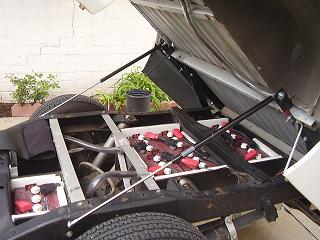
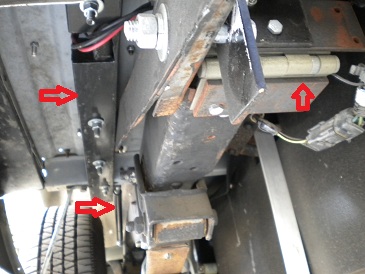
Most of the batteries to supply the electric power to the motor will be located under the pickup bed. So I had to remove the pickup bed and clean up the frame underneath it. 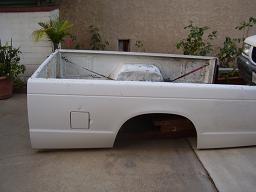
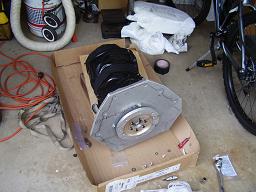
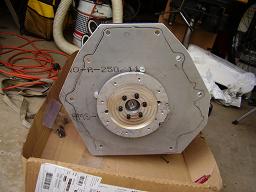
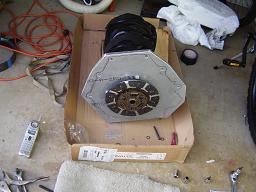
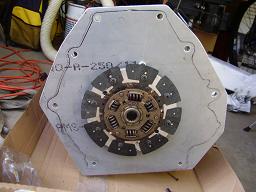
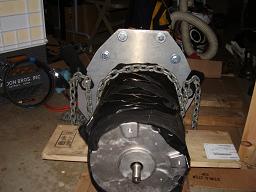
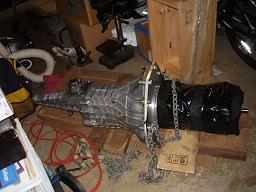
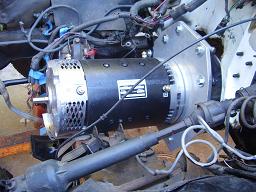
Here is the motor being connected to the hub, coupling and then the transmission. 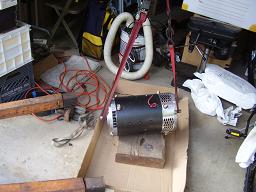
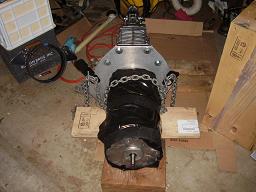
After a couple of months of working on Saturday, it was time to install the motor back into El Ohmbre. I took a little video of the motor going back in, but I forgot to take pictures. It took another couple of weekends to get the front motor mount machined, aligned and installed. 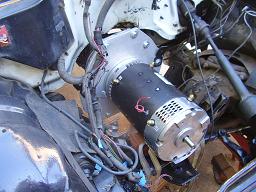
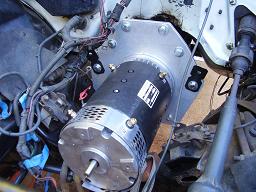
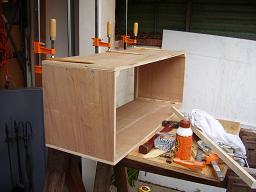
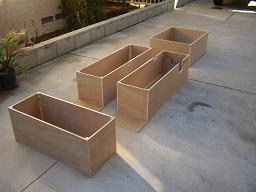
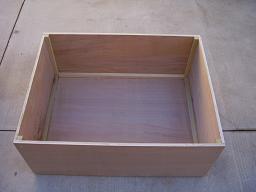
Building the front motor mount was tricky. I'll explain more on the journal page. That did get done and now it's time to build the battery boxes. Here is the first one in progress along with the pile of wood after I cut it and then all four of the finished boxes and one close up. 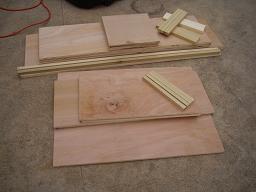
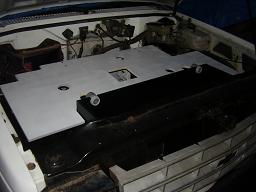
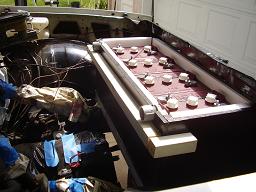
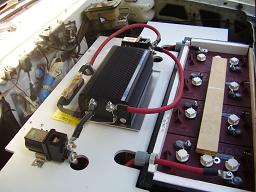
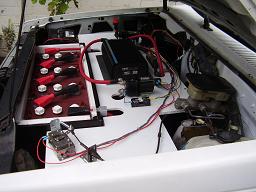
I'm getting to the really fun part of the project now. I've laid out the components on the component board and cut all the holes necessary and drilled all the mounting bolt holes. Here is the bare board after painting and what it looks like installed. 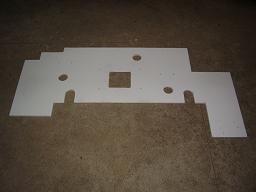
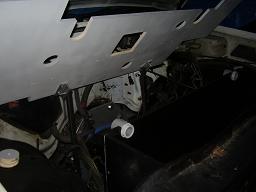
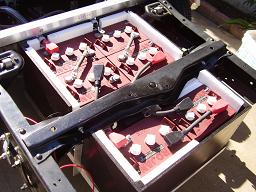
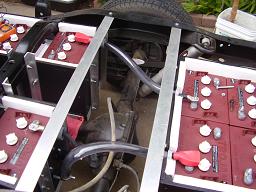
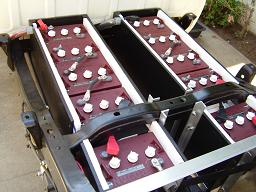
I completed installation of all the battery boxes over the weekend and loaded the batteries into the front battery box. I believe I'm ready to load the remaing batteries and begin the high voltage wiring. 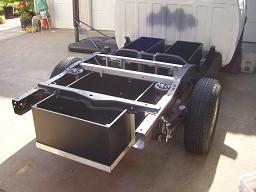
Here is the component board under contstruction and beginning to load the batteries into the mid battery boxes. 

Over the past two weekend I completed most of the high voltage wiring. I have a few shrink wraps to finish and some terminal covers to add and I'm done with this task. 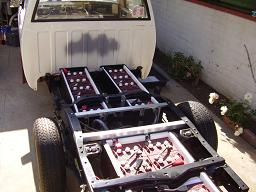
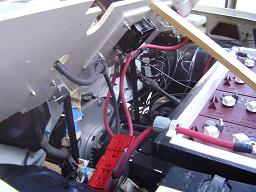
The low voltage wiring is finished and tested. Time for the first test drive. 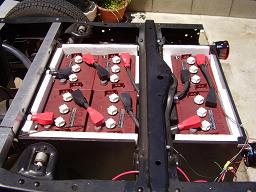
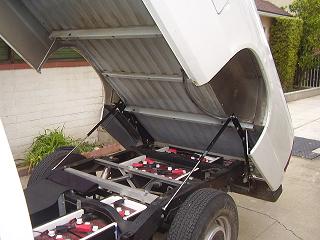
After a month of test driving, time to make the pickup bed tilt for battery access. 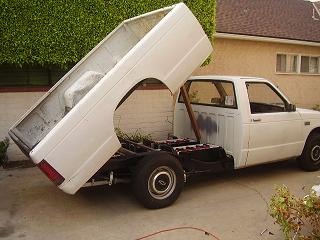
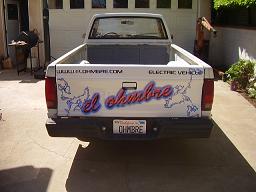
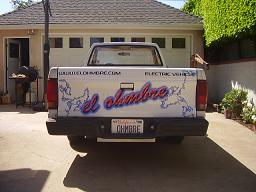
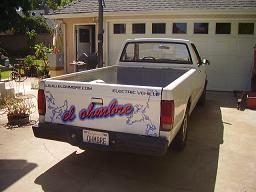
Nearing a 1,000 miles and time to get some graphics on the El Ohmbre electric vehicle. 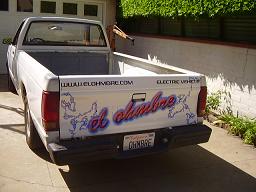
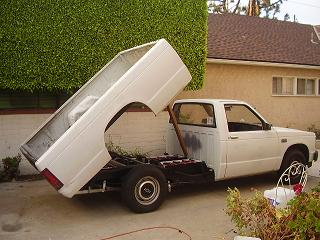
Approaching 3,000 miles and driving to work every day. Finally fixed the gas lifting mechanism on the tilt bed. Read the journal for more details. 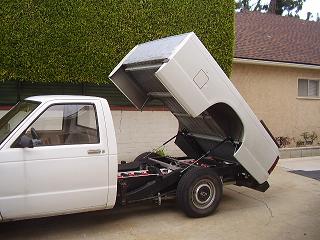
Burned out the 20 amp 110v outlet I was using for charging and the charging connector on the car. 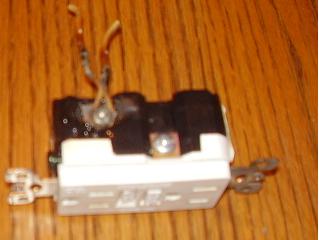
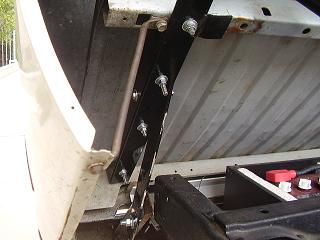
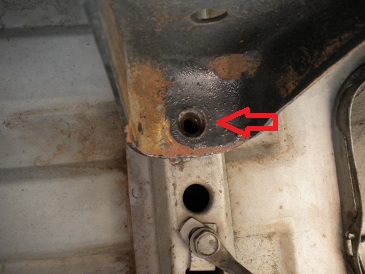
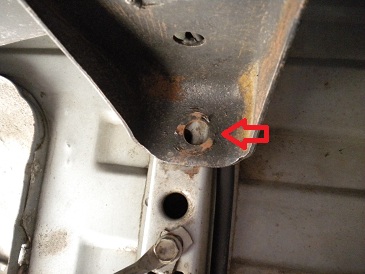
Close up of some lift bed details in response to a question I received on the website. See the blog for detailed information about the liftbed question. 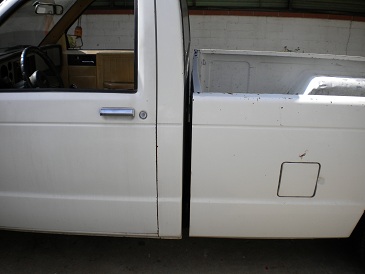
|